
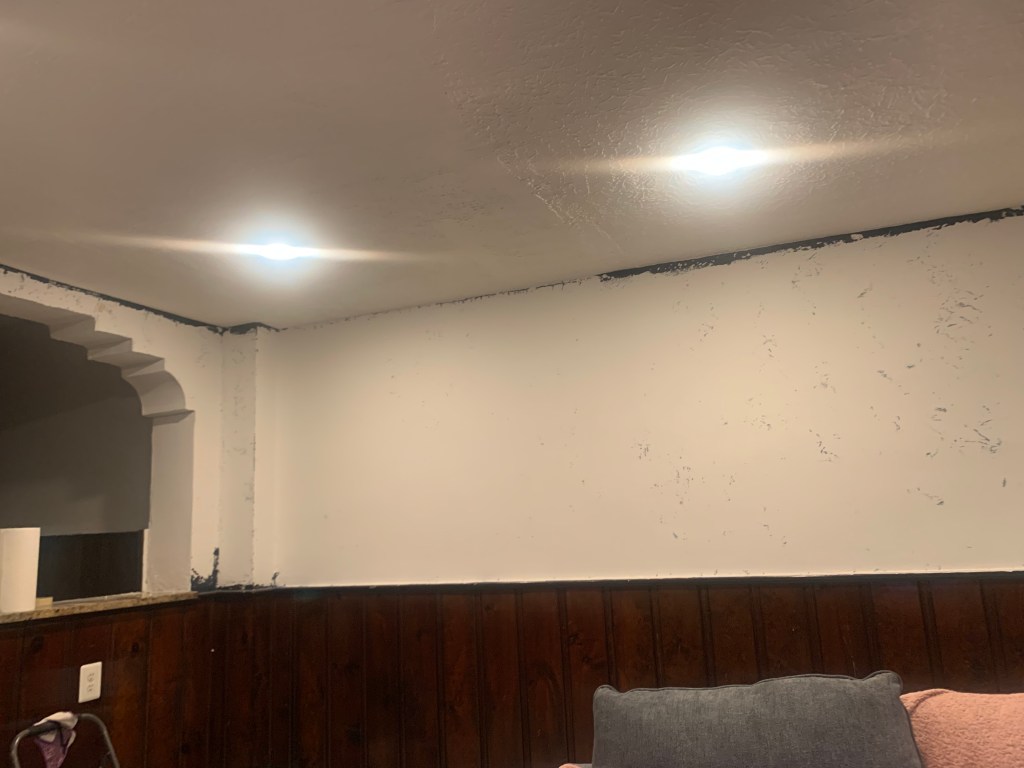
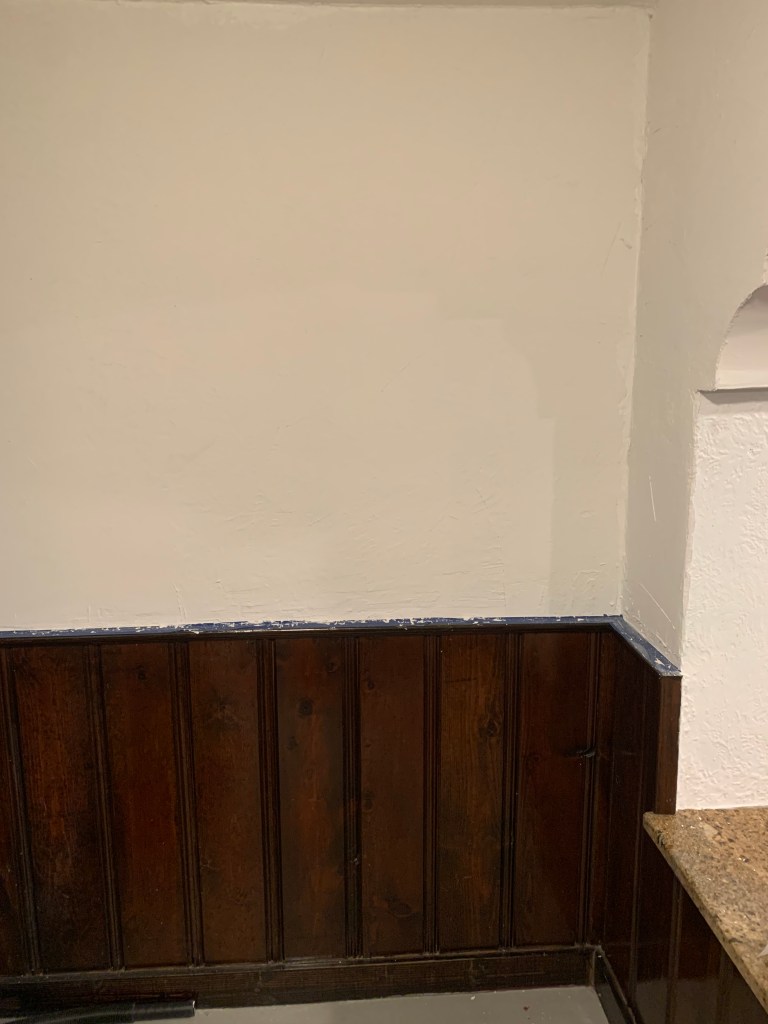
We live in a 1938 row home in Washington, DC. Of course, we love the character of the home and want to highlight its uniqueness! That said, there are some things we would like to update, such as the heavily textured walls in our basement. The space is huge (for city folk) and just wasn’t quite where we wanted it to be-enter blue textured walls.
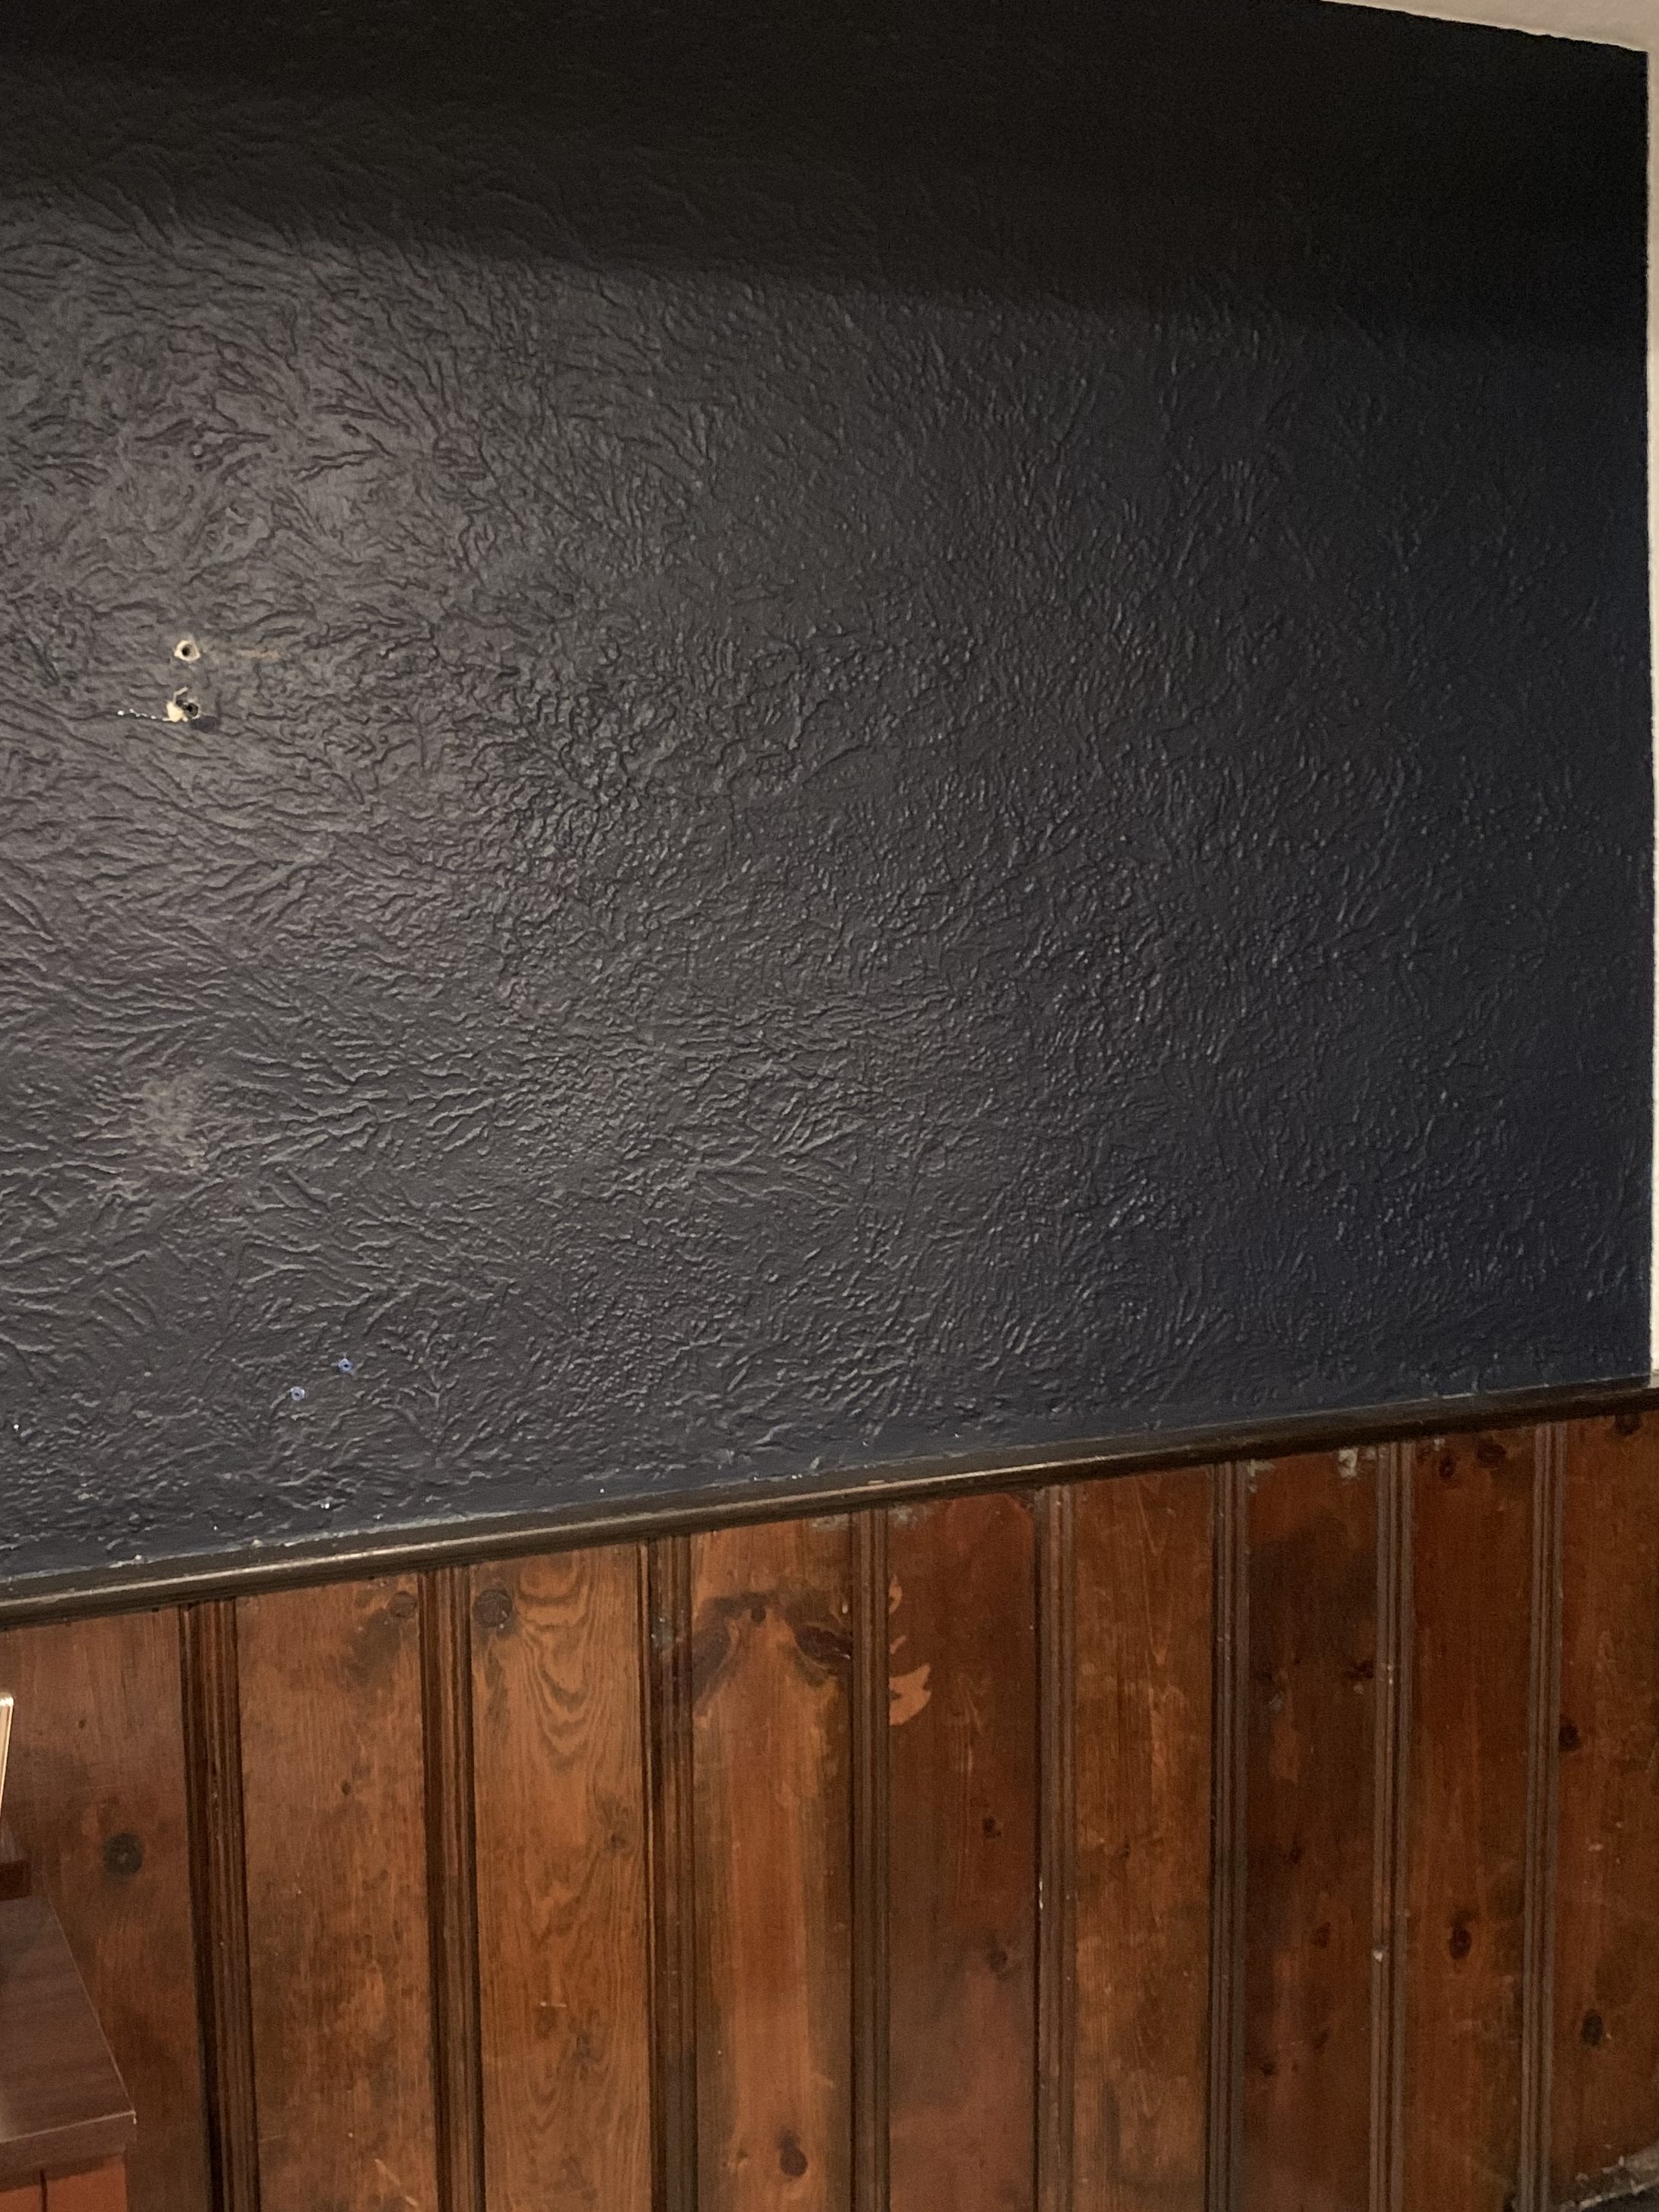
We wanted to smooth the walls and eventually renovate the wood paneling on the bottom. I’ll tackle the bottom portion in my next post. For the wall area, after extensive research, I still was unsure how to go about doing it. I began by leveling off the really big peaks in the plaster with a paint razor scraper. I used this one linked here: Paint Scraper. Just a heads up, the wall will not be smooth at all after this, but the major peaks will be scraped off, making the next steps easier.
I decided I was going to try the skim coating method. Skim coating is traditionally used as a joint compound when joining new pieces of drywall. To clarify, its the clay looking stuff that is used to fill the cracks between pieces of drywall. Drywall comes in large sheets and skim coat/joint compound is used to create an even seam. I watched a ton of youtube videos on techniques and played around a bit until I got the hang out it. Make sure you set aside a good amount of time for each area because washing the tools is kind of a pain. Always wash the tools really well between rounds because if not, the skim coat will harden on them and create an uneven finishing tool. Speaking of tools, these are what I used.
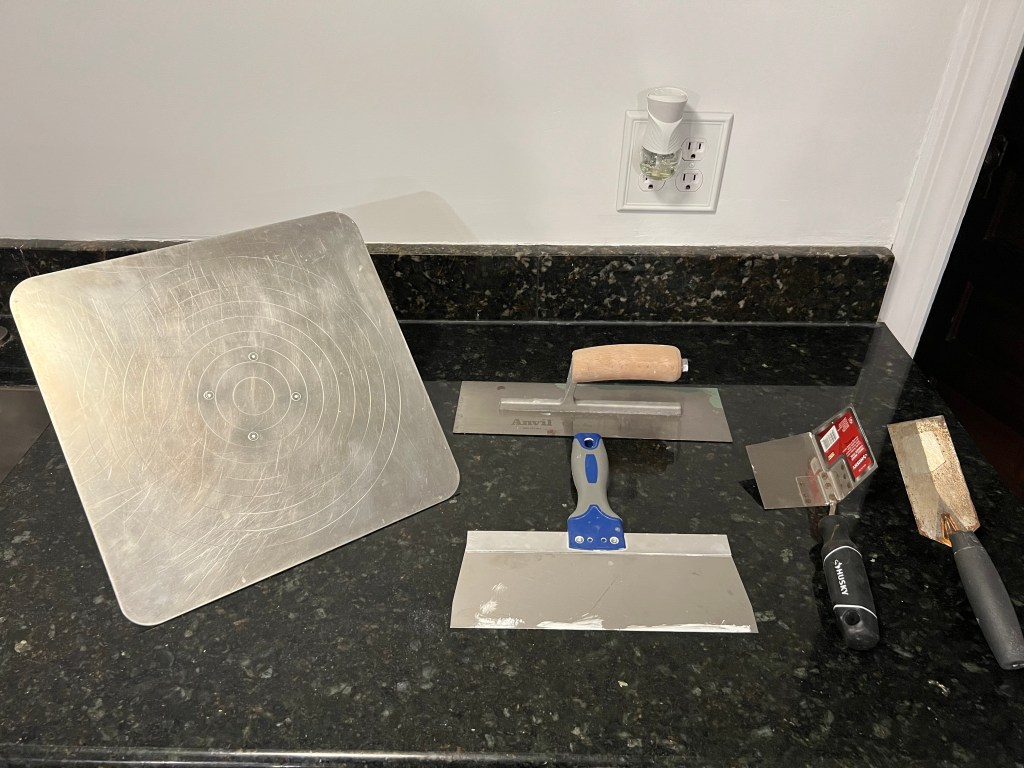
Links for tools above:
Once you have your tools, you need the joint compound or “mud”. I used the Premixed All Purpose joint compound, which is linked here. You can buy the powdered form and I think you get more product for the cost, but I didn’t want to risk the wrong consistency since this was my first time working with the material.
The bucket it comes in has instructions on for mixing. I would recommend getting a drill attachment to mix the mud in the bucket. It is pretty thick and I couldn’t mix the bottom well without the attachment. Here’s a link to the attachment: Drill attachment. Once you’re all mixed, you’re ready to start! We knew we would be redoing the floors after the walls, so we weren’t concerned with drips. I would suggest putting a drop cloth down and moving it along as you go.
Start with a section that isn’t front and center to practice with. The good news about this process is that joint compound is very forgiving. If you mess up, you can usually fix it. This seems like a good place to remind you that you are human and will mess up! Nothing is perfect and this is your first time. Professionals who have done this for years still wont get a perfect finish every time. Give yourself a break-you are saving a ton of money and getting to put love and hard work into your home by tackling this project yourself!
Ok, now that your mental game is back on track, let’s start putting the mud on the wall. Scoop out a good amount of mud with your finishing trowel or straight edge tool onto the hawk board. If you feel like it’s not sticking, you can skim a very small layer of mud across the hawk board, so that the bigger blob of mud has something to adhere to. Once you have a good amount, put the lid back on the bucket, so that it doesn’t dry out. You don’t need to push it all the way down, but just rest of on top during your rounds.
Take your trowel and scoop off some mud and wipe it on the wall. Keep doing this across the entire section of wall you are working on, until you have enough mud on there to cover the peaks/valleys of unevenness. For me, this was about 1/4 inch because the wall was pretty rough. Starting from the top, begin to smooth the section out, skimming the top. Try to use long strokes and wipe the excess on the hawk board after each stroke. Play around with the pressure needed and the angle of the finishing trowel/taping knife and the wall. If your tool is perpendicular to the wall, you are taking off the max amount of mud. The closer you bring the tool to the wall and reduce the angle between the wall and the tool, the less amount of mud you are removing.
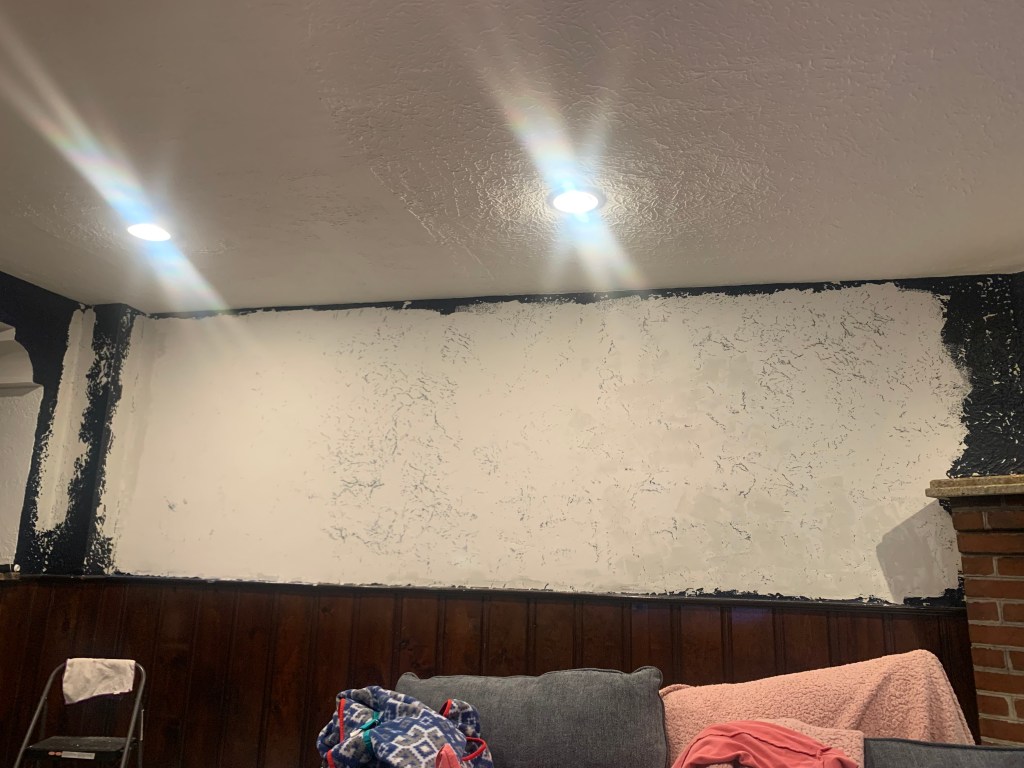
You will likely need to do multiple coats to get the finish you want. Once you think you are close to the end, let the dry wall mud dry for about 1-2 hours. It should be dry to the touch but not chalky-dry. Once you are here, try to find a spray bottle around the house. Spray the mud on the wall liberally and use your finishing trowel or taping knife to go over the wall with long strokes again. This should make the wall really look smooth. If you still have sections that you are struggling with, such as bubbles, creases, etc., spray the section heavily with water. Use an old soft bristle paint brush and rub it around on top of the section you are concerned with. Because the dry wall is not 100% dry, the water makes it more flexible and you can basically blend out the imperfections. Anything smaller than that, you should be able to cover with paint.
For the corners, put mud on either side of the wall. Put a good amount to where there wont be gaps when you smooth. Use your corner trowel tool to start to at the bottom or top and in one motion, pull it along the corner to smooth it. I usually hold it at a roughly 45 degree angle to the wall during this. Wipe the excess back on the hawk board. I had to blend out certain corners with a paint brush where the corner mud met the wall mud.
You can ways go back around at the end and touch up or fill in certain areas. Again, it does not have to be perfect! Granted, our house is old, but the walls throughout the rest of the house are certainly not perfectly smooth. This project is not a huge investment to try yourself! If you feel like you are in over your head in the middle, at least you tried and have not put in a bunch of money. That said, I know you can do it!
We let the walls dry very thoroughly and used a high quality paint to blur any blemishes we missed or left behind.
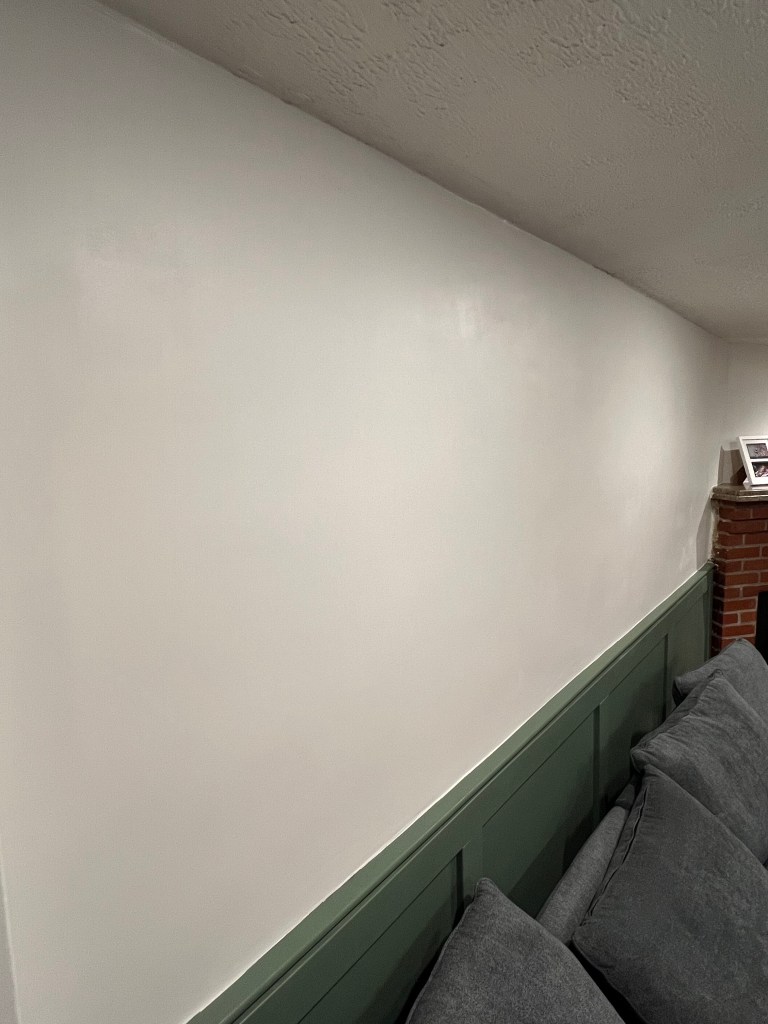
Thanks for reading along and please reach out if anything is unclear! This project took patience and precision, but the result is worth it.
Cheers,
The Blythe’s

Leave a comment